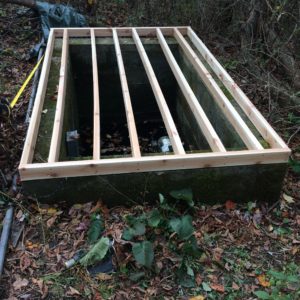
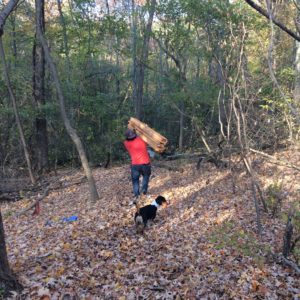
My Grandfather built this spring in the 70’s. That was when this hill was a field. Over the years the trees took over and the leaves destroyed the cover. It still puts out water, but needs a lot of cleaning. Before I cleaned it, I wanted to make sure I built a cover, to protect the spring from leaves, for the time being.
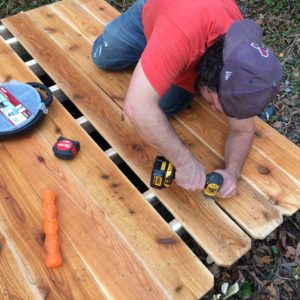
We started by laying cedar 2×4’s for the cover. We decided to go flat as to not cut any materials since this current cover will end up being a wall for the water shed we plan to build at a later date. We used untreated cedar in the construction of the cover, because of it’s proximity to water.
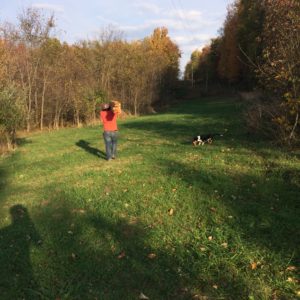
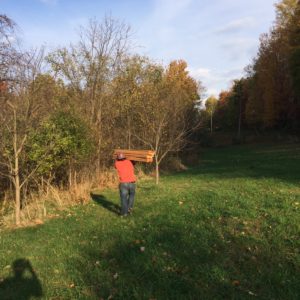
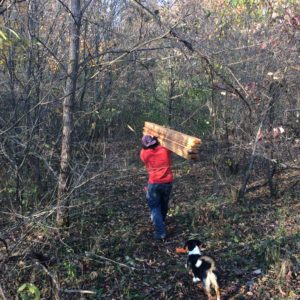
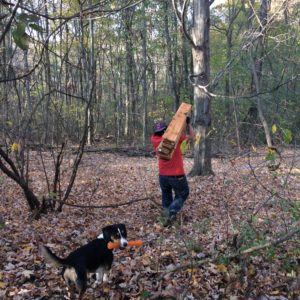
Once the frame to the temporary cover was built, we had to get the materials for the cover. We decided to use 6 ft. cedar fence slats to cover the frame. This spring is a little hike away from the house, but the cedar fence slats made it easy to carry all the necessary materials in one trip.
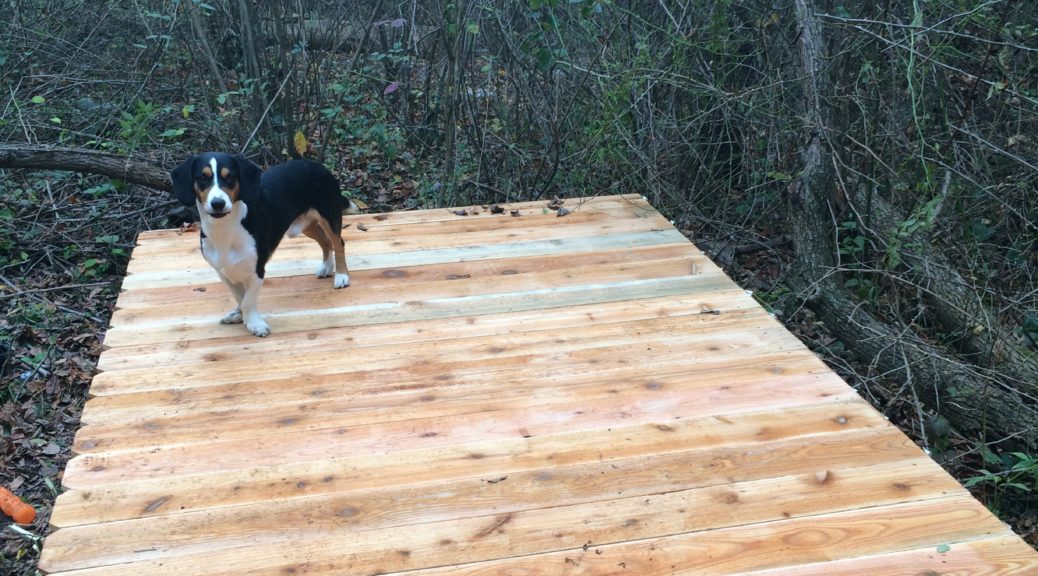
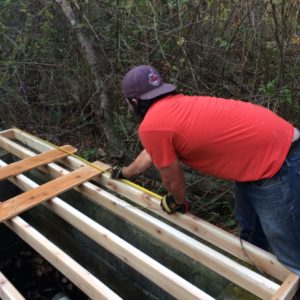
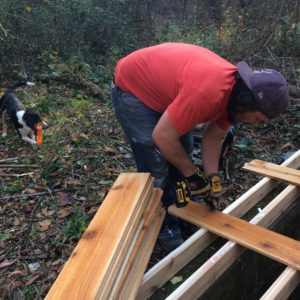
Once we got to the site the cover went together quickly.
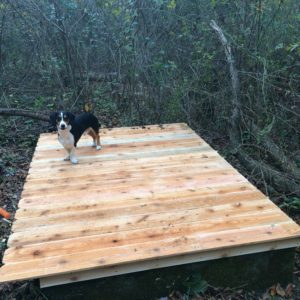
Woody is always around to help. Here he is checking his level.
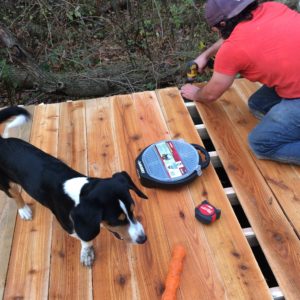
After the cover was down Woody took it upon himself to inspect the work.
He was very happy with a job well done.
Now that the spring is covered the leaves wont pile up in the bottom. This wont protect from groundwater contamination, but hopefully this will make cleaning it out a little easier next year.
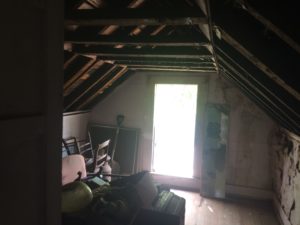
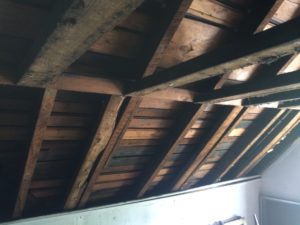
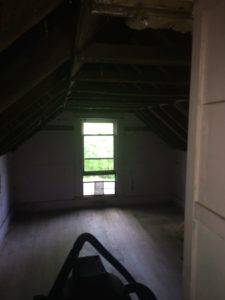
After a “couple” of years of the roof leaking, most of the things in the attic had been damaged. It took 2 days of hot, disgusting work to clear the second floor out, but the first room to be cleared is in the books.
The best part is that most of the sheathing for the roof is in decent shape, less a few spots. I am fully intending on restoring this house with as much original material as possible, so this is a good sign. Once the second floor was cleaned out the smell of rain damage disappeared. This was a huge step in getting started on the house.
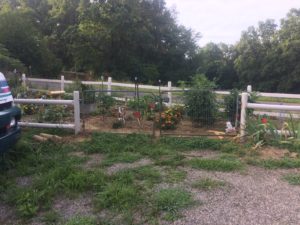
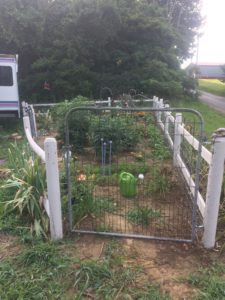
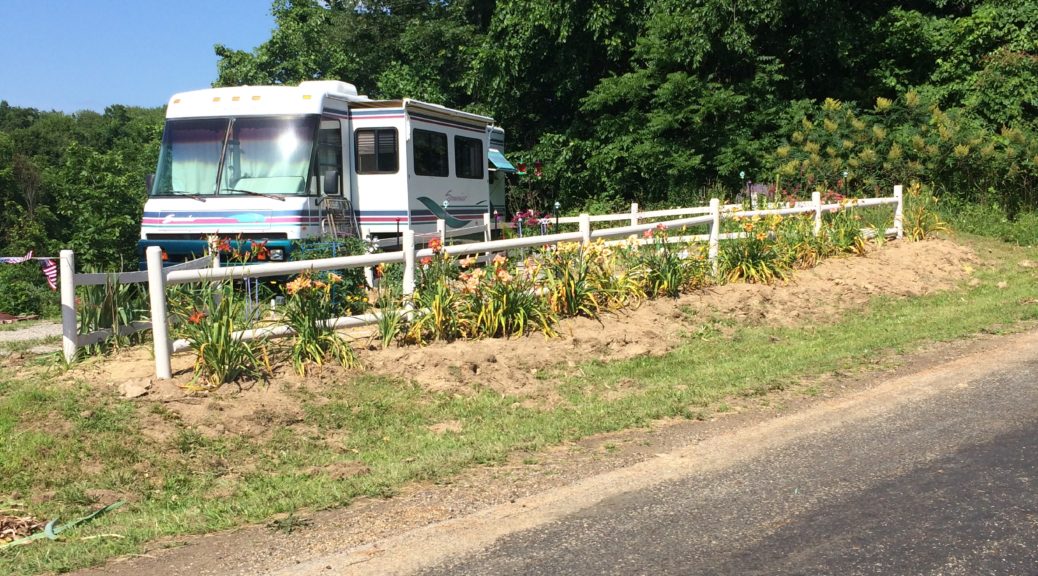
This 4th of July our neighbor John brought us some free fencing. Since we are doing this with mainly recycled materials, it turned into the perfect opportunity to add some flair to the front of the farm.
The weekend started off with a beautiful rainbow during an afternoon rain shower.
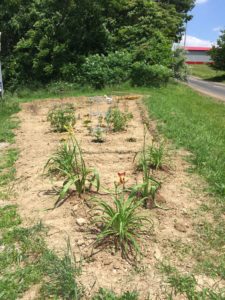
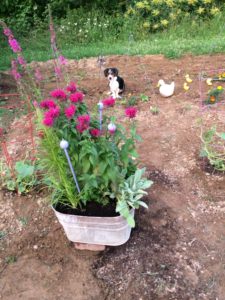
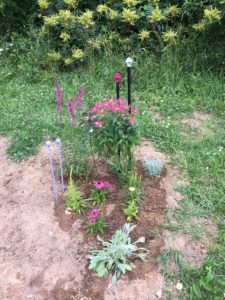
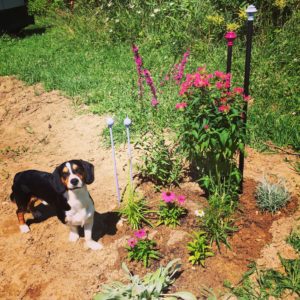
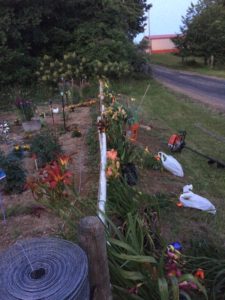
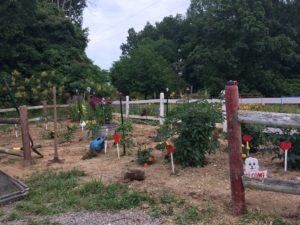
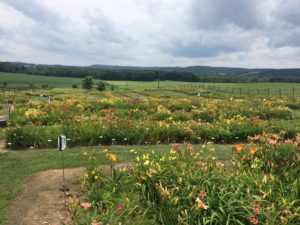
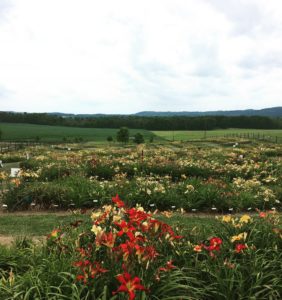
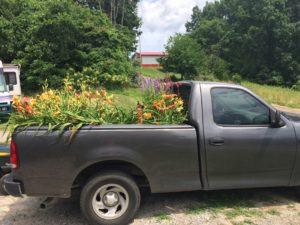
Now traditionally you build a fence and then pick out the flowers, but this was a special weekend in the Flint Ridge area. The local Daylily farm was having a sale and we got a truckload for a great price. What a beautiful place to spend a rainy July day.The garden was started at the beginning of March, before the last frost. We took a big gamble with the early planting, but it paid off later in the year. We decided that this garden was eventually going to be a perennial garden, so we started with some small perennial beds so we could expand them later.
Honestly , we didn’t know we were getting a fence. Luckily we are surrounded by great people.
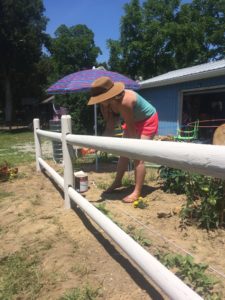
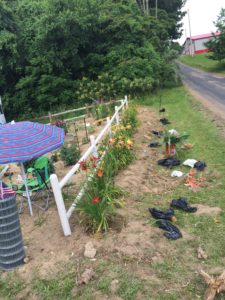
Once we had the fence, it only made sense to put it around this garden. Piece by piece, hole by hole, the fence went up. The first day we made a lot of progress. We even put a first coat on the roadside fence and laid out our daylilies.
The second day, we finished off the back of the fence and we were ready to paint.
The 4th of July arrived and we had a fence around the garden. We hung the galvanized gates and finished planting the daylilies.
Usually fences are put up to keep people out, but upon completing this fence, we found ourselves surrounded by new friends. This property hasn’t had anything new like this in a long time. It wasn’t easy to put up, but it has been worth every drop of sweat.
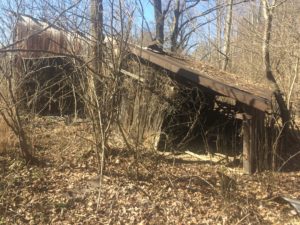
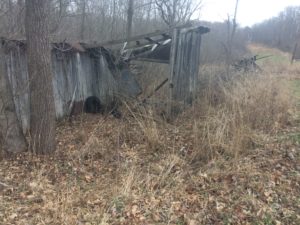
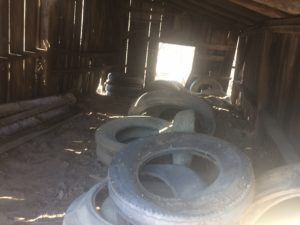
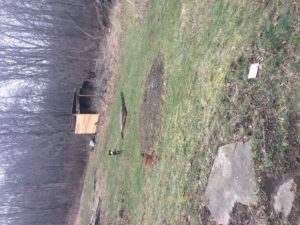
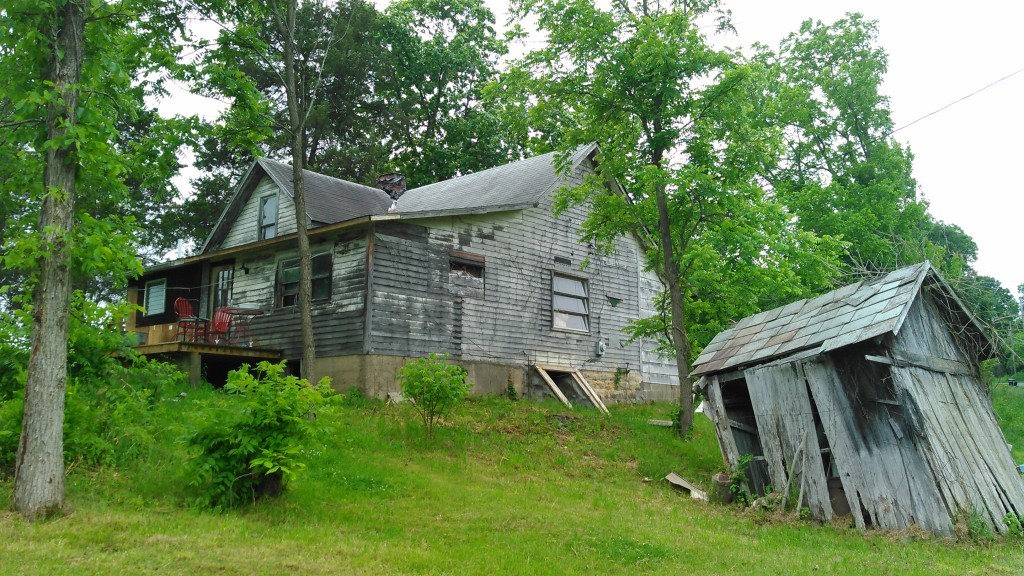
Storage at the farm is tough to find right now. Building materials and tools take up a lot of room. Step by step we have cleaned up storage space around the farm, starting with the cellar and garage. While those spaces have served their use, we have a little more than can comfortably fit in those spaces. We wanted to find a solution that helped clean up an area of the farm and gave us another area to expand our garden. This lead us to the old garage.
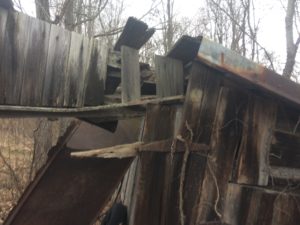
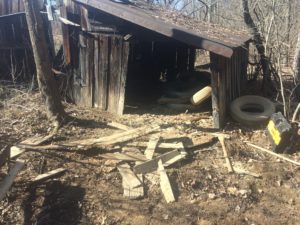
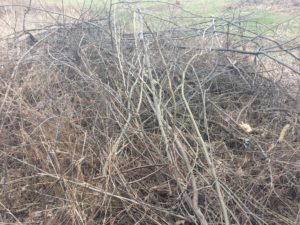
The brush has grown up over the years, but the lower portion of the garage was timber-framed and seems to be in good enough shape for the time being. The other side was a different story.
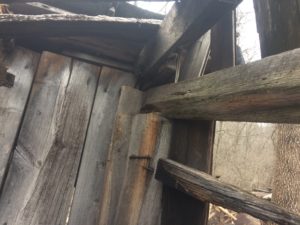
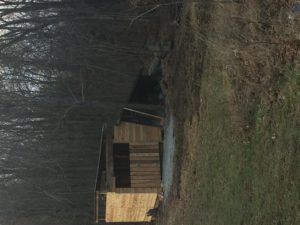
The high side of the structure was in complete disrepair. To be blunt, a strong wind should have taken it down years ago. The only things holding the two remaining walls up were the header and the fact that it was timber-framed with old growth wood.
The only solution for this side was to replace the garage with a new structure. We were able to save some good pieces of weathered wood. This garage has been here for close to 100 years so we’d love to find a way to re-purpose and recycle as much as we can.
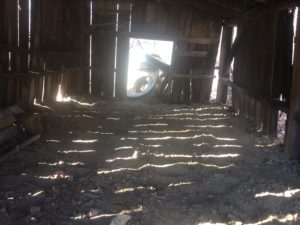
The whole project started with clearing the brush and cleaning the lower shed out.
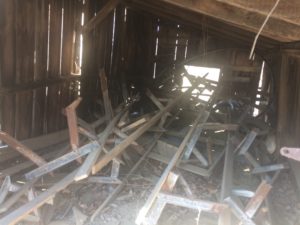
Once the lower side was cleaned out and we had room to store our materials for the build, we started clearing the high side.
There was quite a bit of metal, most likely from the roof, underneath all the leaves and brush. Slowly we removed the debris and cleared a spot to erect our garden barn.
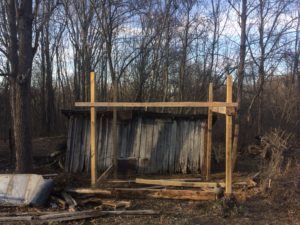
Once the posts were set we were able to frame the sides and the barn started taking shape. Once the barn was framed we went searching the fallen buildings for salvageable materials. As luck would have it we found metal roofing from a fallen building. While this isn’t normally the process of finding a roof, we are trying to reuse as many materials as we can.
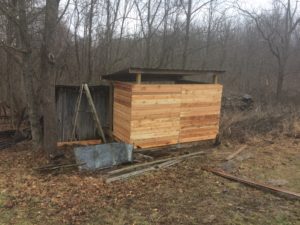
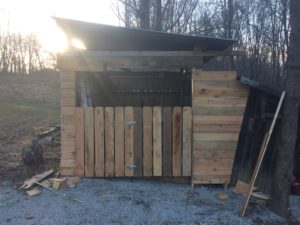
It started raining after we put the roof on, but that was just a better reason to start siding the barn. We used cedar fence slats for the siding. We have used it everywhere else and it worked out beautifully as siding. Once the siding was up we started on the front.
Last year we cleared a lot of brush from around this area and stacked it for chipping into mulch for the gardens. We just happened to not look into the future and see that where we stacked it was going to be right in our way. This took a little bit of work, but we moved the brush piles and cleared the overgrown grass. This left the perfect spot for working on the front side of the barn. We started putting siding up on the front, but with any project, time ran out and we had to stop.
This is going to be a great place to store our yard tools and future tractor.
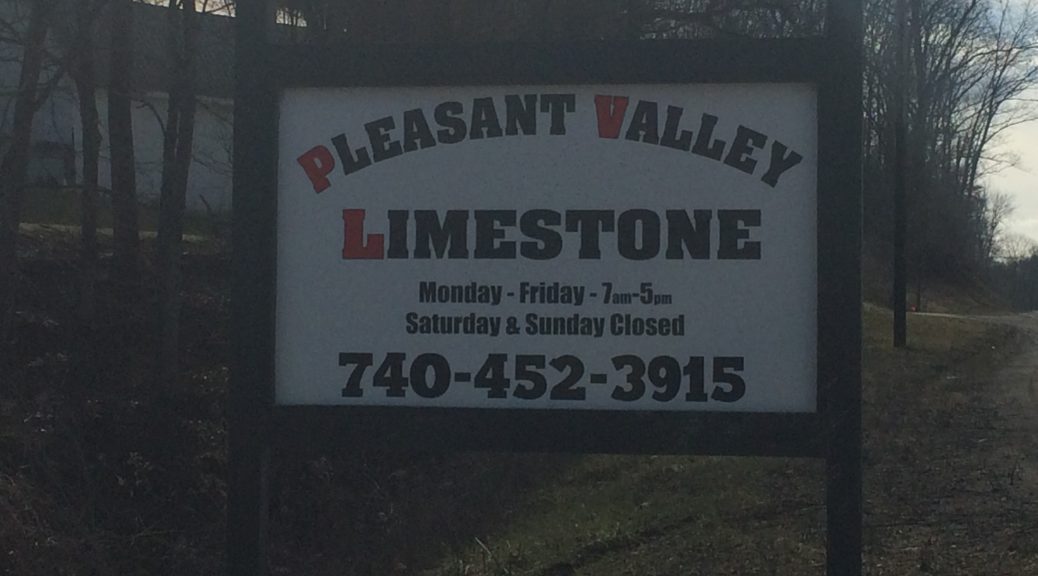
Over the past couple years the farm has needed a lot of gravel. When we were first getting started we went through a couple bad deals involving rock and it cost us more time and money than it was worth. Then I found Pleasant Valley Limestone and that all changed. Where other stone yards have a minimum order, Pleasant Valley Limestone doesn’t. You weigh in once and you haul as much as you can, only paying for what you take out. This has helped immensely with cost and since the stone yard is only 3 miles away from the farm, it made it a lot more economical. If you are located in or around Muskingum county and you’re tired of paying too much for gravel, try Pleasant Valley Limestone. It was the best decision I have ever made. Thank you Pleasant Valley Limestone for helping me fix my family farm.
My Dad and Mom were on a drive into the country one Sunday. They passed the farm and saw it was for sale. the road was just a dirt road with grass growing up in the middle. They went back to see it again in a few days, after talking it over, and couldn’t remember how they got there. Back in 1944, apparently there were no names to the roads.


 The garden was started at the beginning of March, before the last frost. We took a big gamble with the early planting, but it paid off later in the year. We decided that this garden was eventually going to be a perennial garden, so we started with some small perennial beds so we could expand them later.